Recessed Downlight Frame Adaptation, Disassembly, and Installation Guide
By SmartGlow
April 17th, 2026
The recessed downlight frame is the key to enhancing the spatial style. This article provides a detailed explanation of the selection, compatibility check, and installation steps for recessed downlight frames. It teaches you how to easily replace LED recessed downlight decorative strips, enhance the sense of luxury in the space without damaging the ceiling, and create a more unified and exquisite recessed downlight ceiling lighting effect.
Many people only focus on the brightness and color temperature of LED recessed downlight, but forget that the frame is the "facade" of the dialogue between the lamp and the space. The old white plastic frame will make even the most expensive downlight look cheap and abrupt. By switching to the right border, even a regular recessed LED downlight can instantly incorporate any style such as minimalism, light luxury, industrial style, etc., making the entire top surface lines cleaner and more refined, doubling the sense of luxury.Whether it's mini recessed downlights or adjustable recessed LED downlights suitable for small apartments, choosing the right frame can maximize the advantages of the lighting fixtures. Do you want to replace the yellowed frames of the old downlights in the old house with modern style black recessed downlights? Or to pair the adjustable angle recessed adjustable downlight with brass or brushed nickel frames to match your new metal lighting fixture? You don't need to dismantle the ceiling or replace the main body of the lighting fixtures, you can easily do it yourself, making outdated spaces shine with a new texture.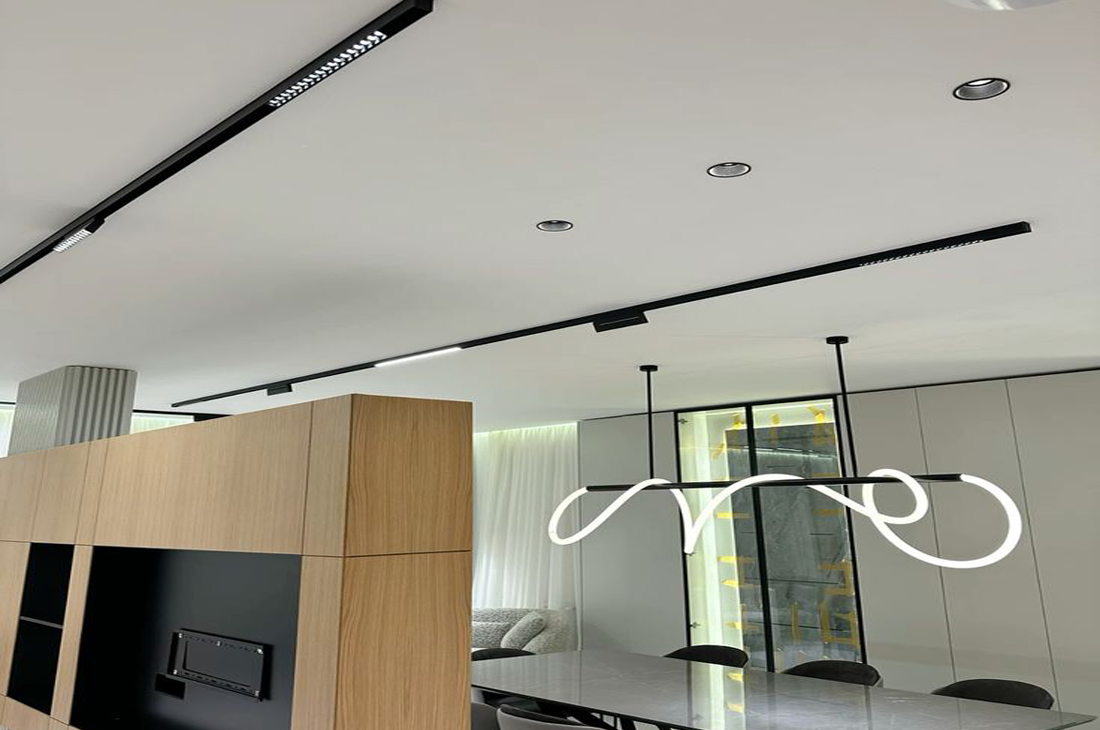 Although replacing the frame of the downlight may sound simple, it does require some professional skills. How to safely remove the old frame without damaging the gypsum board or stretching the ceiling? How can we ensure that the new border fits perfectly and seamlessly? Don't worry, this guide will take you through the entire process. We will introduce different types of border structures, compatibility checks that must be done before purchasing, and provide clear step-by-step installation tutorials, so that you can also upgrade embedded downlights like a professional.Firstly, let's clarify a concept: what is a downlight frame?The frame of a recessed light fixture is the visible decorative component that is flush with the ceiling. It is not just a "lid", but also a key factor affecting aesthetics and functionality:
- Aesthetic function: It can cover the rough edges of gypsum board openings, making the ceiling look clean and tidy, and is the key to creating exquisite centerless lighting effects.
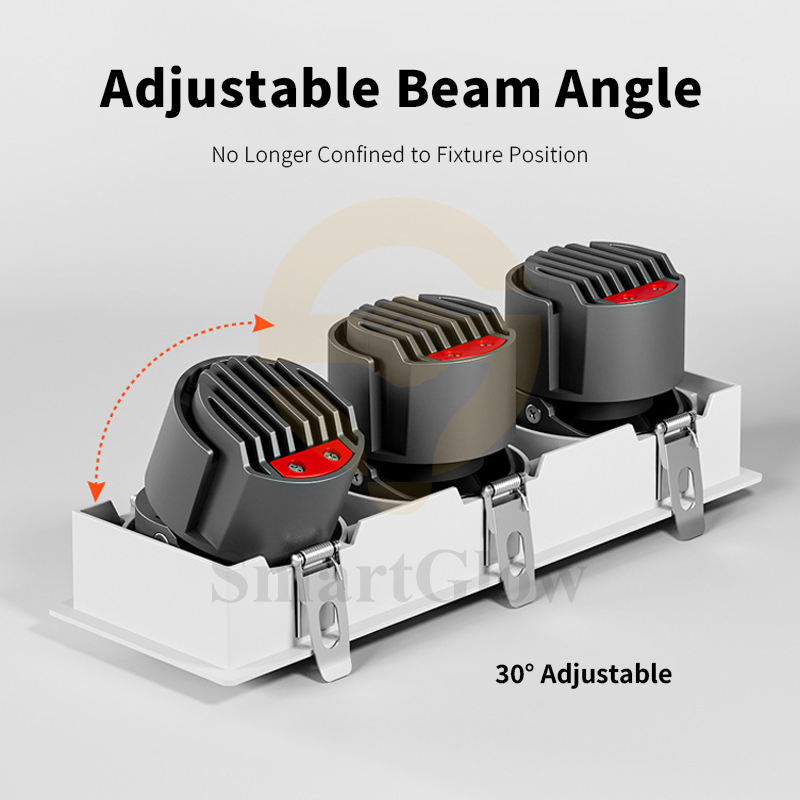
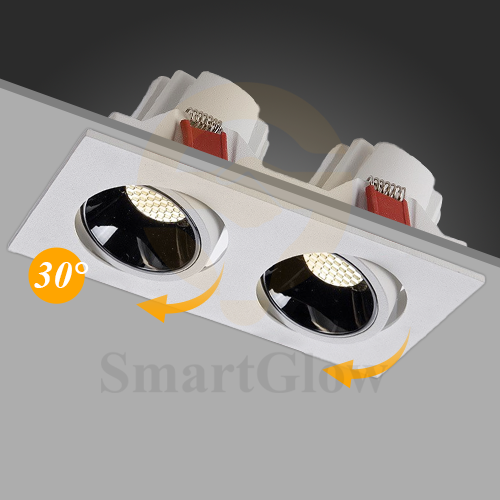
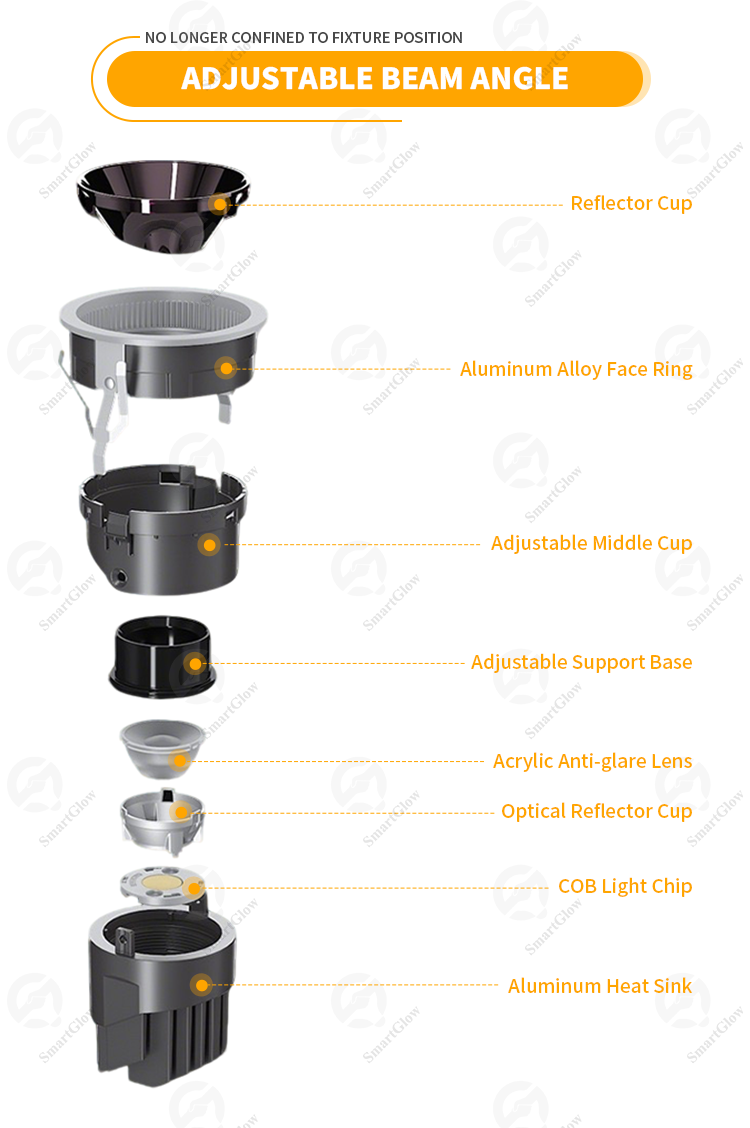
- Practical function: In the received adjustable downlight, a universal joint mechanism is integrated inside the frame, allowing you to freely adjust the direction of the light and accurately illuminate key areas such as paintings and desktops.
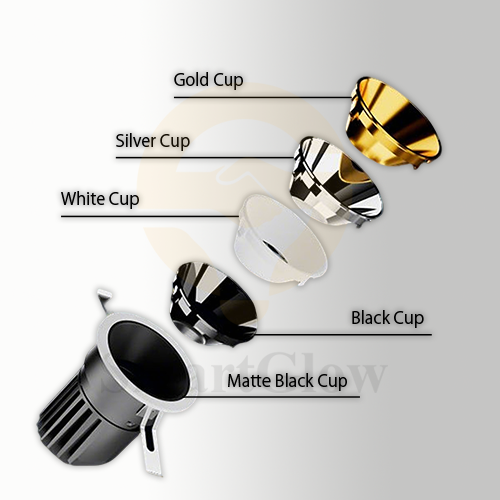
Why do you need to replace the frame of the downlight?- Quickly upgrade appearance: This is the most common reason. Replacing the old white plastic frame with matte black, brushed nickel, brass, or other textured finishes can instantly enhance the spatial style and create a high-end atmosphere even for ordinary LED recessed downlights. It is an excellent low-cost renovation method.
- unified style: If you have updated cabinet hardware, door handles, or other metal components, replacing the frame of the downlight to match these new elements can make the design of the entire home more harmonious and cohesive, avoiding the problem of style fragmentation.
- Expand the functionality of lighting fixtures: Many downlight systems support frame upgrades: you can replace the fixed frame with an adjustable universal joint frame, without replacing the entire lamp, and turn ordinary downlights into key lighting that can accurately control the light, flexibly adapting to galleries, workspaces, and other scenes.
- Repair aging and damage: Over time, old plastic frames are prone to yellowing, becoming brittle, or being damaged due to UV exposure. Replacing the border is a simple method to make the received downlight ceiling look neat again, with low cost and immediate results.
 Compatibility check of embedded downlight frameBefore selecting a new frame for your LED recessed downlight, it is crucial to complete this step - the downlight frame is not a universal accessory, and conducting compatibility checks in advance can help you save installation trouble and unnecessary expenses.
Step 1: Brand and model are the core prerequisitesThe vast majority of downlight frames are specially designed by the brand and are only compatible with their specific models or series of recessed downlight can housings. The border of brand A is almost incompatible with the lighting fixtures of brand B. You must find a replacement frame that perfectly matches the existing lighting brand and model, otherwise seamless installation cannot be achieved.Part 2: Identify the model of the downlightIf you are unsure about the brand or model of existing lighting fixtures, you can quickly troubleshoot by following these steps:- Turn off the power supply of the circuit breaker to ensure safe operation.
- Remove the bulb (refer to the GU10 bulb disassembly guide).
- Gently pull the lamp down from the ceiling, with the lamp housing secured by large spring clips, taking care to avoid scratches from the spring clips.
- Check the label on the side or top of the metal casing ("barrel"), which will be printed with the manufacturer's name, model, and UL/ETL safety certification marks. Use this information to find the compatible border.
Step 3: Identify the fixing method of your downlight frameDifferent LED recessed downlight frames have different disassembly and installation methods. First, confirm which mechanism your current border is using, and then select the corresponding type of replacement: | Mechanism | How it works | How to remove / install |
|---|
| Twist-lock (rotating trim) | Small tabs on the trim lock into slots on the housing. Common in fire-rated recessed cans. | Remove: Hold the trim firmly and rotate it counterclockwise 15–30 degrees. The trim will release and come free.
Install: Align the tabs, push up, then rotate clockwise until it clicks and locks into place. |
| Magnetic | The trim is held in place by several small, strong magnets, resulting in a clean, seamless look with no visible clips. | Remove: Simply pull the trim straight down. If stuck, gently pry at the edge with a fingernail or thin plastic tool.
Install: Align the trim and push it up; the magnets will securely pull it into position. |
| Spring-clip / friction-fit | The trim uses small, built-in spring clips or simple friction against the housing/bulb to stay in place. | Remove: Pull the trim straight down with steady, gentle force. A slight wiggle may help release the pressure.
Install: Push the new trim straight up until you hear a click or it sits flush with the ceiling. |
 How to install a new downlight frameStep 1: Turn off the powerEven if you haven't directly touched the wires, the safest thing to do before repairing any lighting fixtures is to first turn off the power supply of the corresponding circuit breaker to avoid the risk of electric shock from the source.Step 2: Remove the light bulbMost downlight designs (especially rotary locking) require the bulb to be removed before accessing the fixed structure of the frame:Release the small buckle inside the lamp holder used to secure the light bulb.For GU10 bulbs, gently press and rotate counterclockwise to remove the bulb.Step 3: Remove the old borderAccording to the fixing mechanism of your lighting fixture, carefully remove the old border using the method in the previous table:
- Rotation locking type: Rotate the border counterclockwise and then pull down to release it.
- Magnetic suction: Directly pull down the frame vertically, and it will detach from the magnet.
- Spring clip/press in type: Pull steadily vertically downwards with force, and gently shake if necessary to help release spring tension.
 Step 4: Install a new borderThis step is the most fulfilling part of the entire renovation:
- Carefully align the new border with the downlight housing, keeping it horizontally aligned.
- Rotating locking type: Push the shell upwards and then rotate clockwise until you feel the frame clamp and lock in place.
- Magnetic suction: Gently push the frame upwards until the magnet engages, and hear a crisp "click" sound, indicating that it has been installed in place.
- Spring clip/press in type: Push the frame upwards with force until it is flush with the ceiling and feels stable without shaking.
Step 5: Reinstall the light bulb and conduct a power on testReinstall the GU10 bulb into the lamp holder, push it in clockwise and rotate it to ensure it is securely fastened.Secure the bulb firmly by fastening the fixing clip of the lamp holder.Returning to the distribution box, open the circuit breaker to restore power, toggle the switch, and you will see a brand new embedded downlight effect. ConclusionLearning to replace the embedded downlight frame is a practical skill that does not require a high threshold, but can give you strong design control. The core of this project lies in meticulousness rather than complex technology, and the most crucial step is to conduct compatibility research in advance and select the right compatible accessories. Just take a few minutes to confirm the model of the lighting fixtures and select the appropriate decorative frame, and in a low-cost and efficient way, the overall texture and style coordination of the room can be visibly improved, and the effect is not inferior to a whole house renovation.If you are confused when identifying lamp models and selecting matching borders, don't worry - there are many types and accessories of downlights on the market, which can easily make you stand out.SmartGlow Lighting's lighting expert team can provide you with one-on-one professional support: helping you accurately identify existing lighting models, find compatible replacement frames, and achieve the design effect you want. Contact us immediately for professional consultation and work together to polish every detail in your space to perfection.
Previous
Smart Mmagentic Track Lighting: A New Choice For Adapting To Modern Homes
Read More
Next
How to Repair Recessed Downlight Holes on Stretch Ceiling/Gypsum Ceiling
Read More


