Must-read For Beginners! The Entire Process Of Installing A Stretched Ceiling
By SmartGlow
April 9th, 2026
Looking for reliable stretch ceiling manufacturers? Our guide walks you through easy stretch ceiling installation steps, so you can transform any space with smooth, seamless stretch ceilings—from residential to commercial settings. We break down stretch ceiling installation into 10 simple steps, including material selection, profile fitting, lighting integration and final finishing. Trust our expertise to deliver perfect results every time.
SmartGlow Lighting specializes in providing design, production, supply, and installation services for stretch ceilings, with business coverage in various regions around the world. We provide long-term research and development, production, supply, and full process installation services for residential, commercial, hotel, and other scenarios. We have a deep and professional understanding of high-quality stretch ceiling systems.
In this blog post, we will provide a detailed analysis of the core advantages of stretch ceilings compared to traditional ceilings, introduce a variety of design and lighting integration solutions, and outline the key steps in the professional installation process.
1. Determine the choice of stretch ceiling
SmartGlow Lighting integrates the research and development, production, supply, and one-stop installation of stretch ceilings. The most prominent advantage of stretch ceiling is its significantly faster installation speed compared to traditional ceilings (see related analysis of stretch ceiling), simple maintenance in the later stage, lower overall cost, and a wide range of decorative options, including high-definition printing, matte, translucent and other effects.
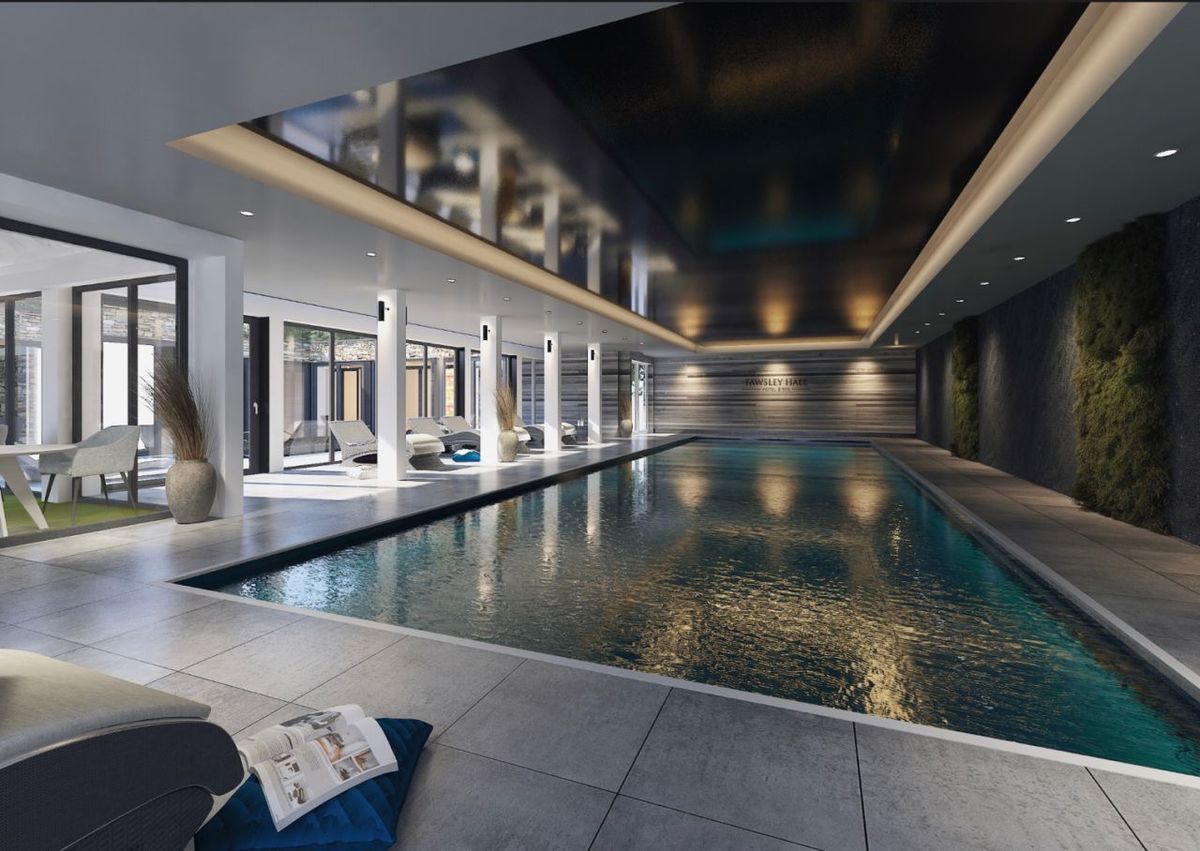
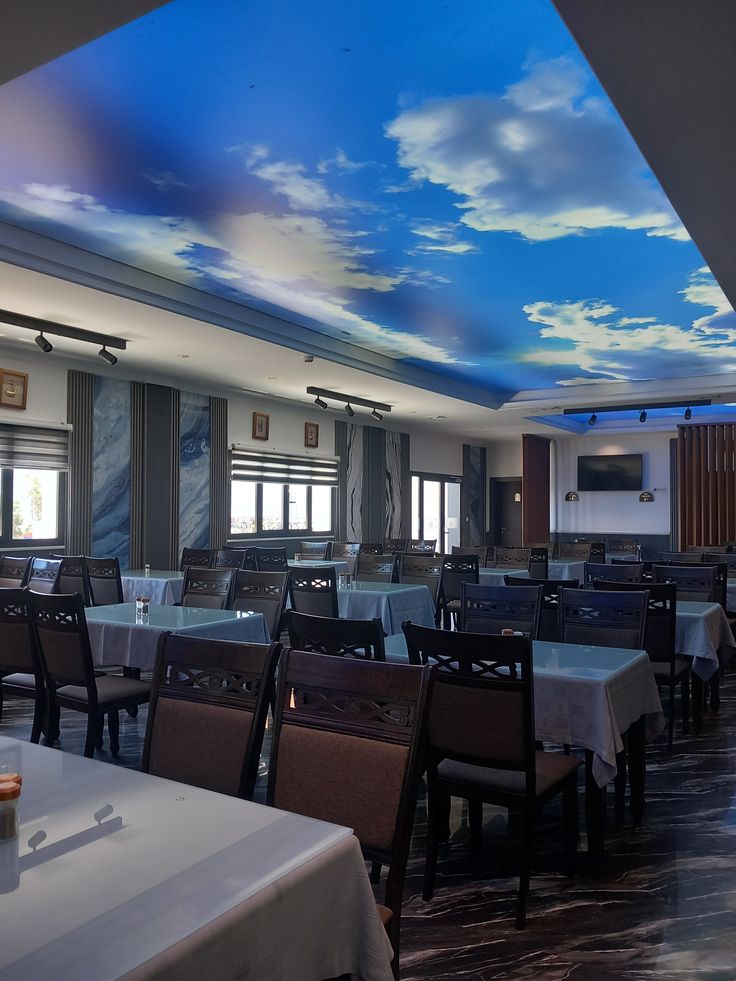
In addition, it also has the characteristics of strong durability, environmental protection and safety, and stable performance, so it is widely used in medical, educational, office places, as well as leisure and entertainment spaces such as bars, restaurants, swimming pools, gyms, etc. It is currently a popular top solution in various indoor projects.
Stretching ceiling - has always been a popular choice in swimming pools and restaurants
2. Choose appropriate fabrics and finishes
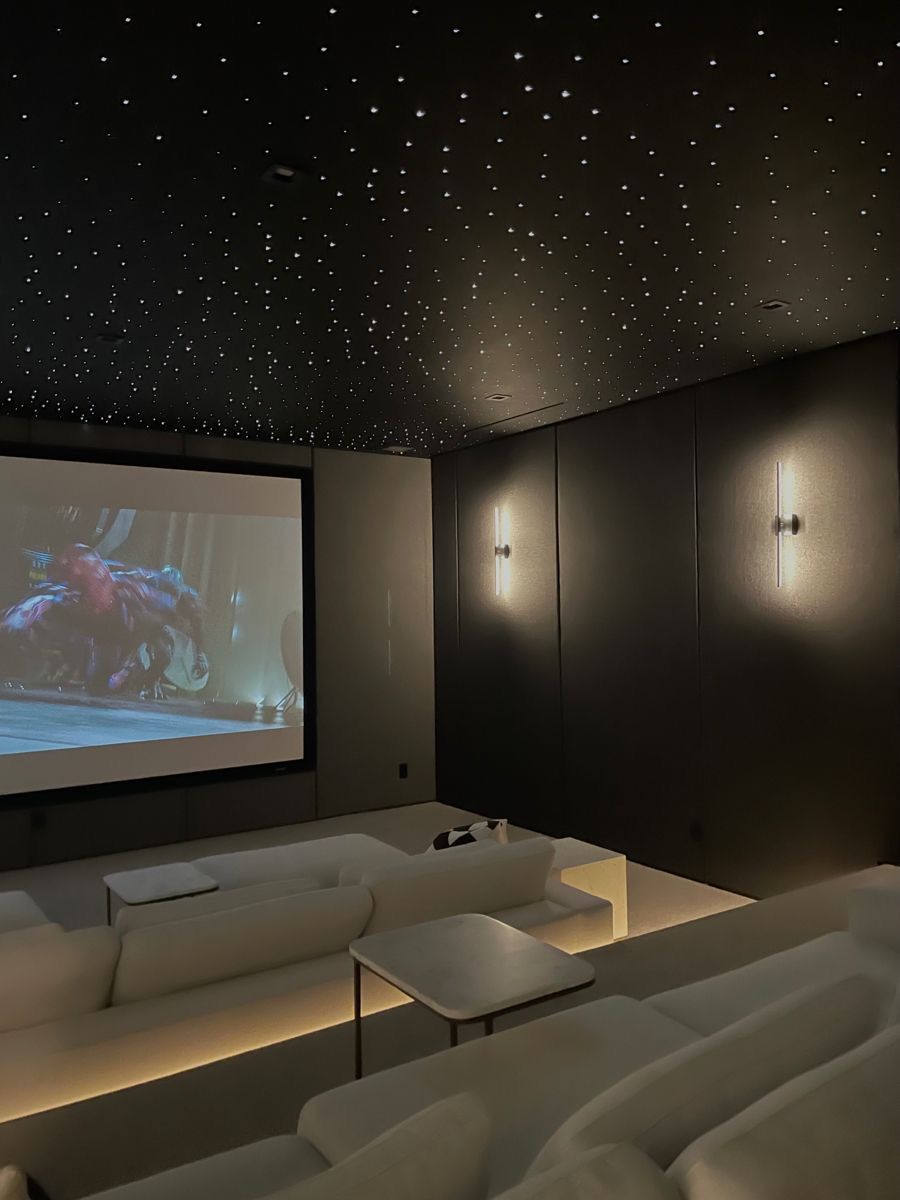
After deciding to use a stretched ceiling, the next step is to select fabrics and colors that match the spatial style. You can choose high gloss, satin, or matte finishes according to your design needs, or use semi transparent transparent films to create soft light and shadow, or use three-dimensional fabrics to create unique layers. If you want the ceiling to be more personalized, you can also customize high-definition patterns, artistic images, or corporate logos to create a unique top effect. To learn more about matching options, click to view the complete stretch ceiling design options.
Create a starry stretched ceiling for home theaters
3. Choose reliable stretch ceiling suppliers
Once you have determined the fabric and design plan, choosing professional and reliable stretch ceiling suppliers becomes crucial. As a professional service provider integrating production, sales, and installation, SmartGlow Lighting always adheres to high cost-effective pricing and provides customers with one-stop services from fabric production, customized design, on-site installation, and post maintenance with the advantage of a complete industrial chain. Of course, we still recommend that you compare multiple options and consult with multiple suppliers for quotes, comprehensively consider quality, price, and service system, and ultimately choose the partner that best fits your own needs and budget.
4. Prepare the room properly
Compared to the cumbersome pre installation preparation of traditional plastering ceilings, the installation preparation of stretched ceilings is much easier, which is also one of the reasons why it is highly favored. Before installation, the room does not need to be completely emptied. You only need to move the furniture, appliances, and other items under the top surface to the center or corner of the room appropriately, freeing up the operating space required for installation. There is no need for additional complex preprocessing such as wall leveling and top polishing. The preparation work is simple and efficient, usually completed within half a day. After that, the installation team can immediately enter the site for construction, greatly saving the overall construction period.
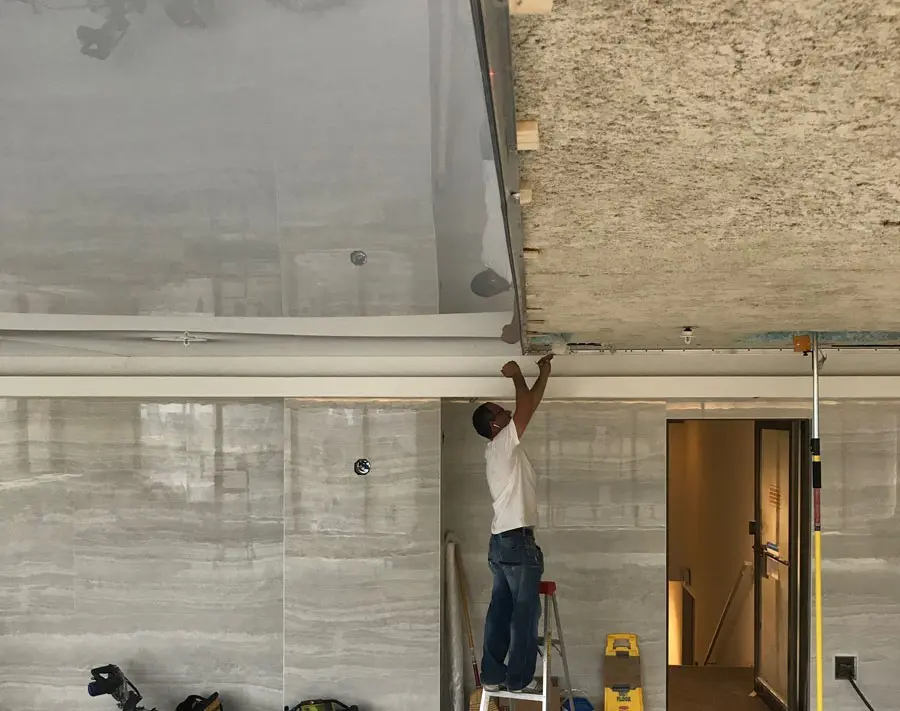
5. Install specialized stretch ceiling aluminum profiles
The stable installation of the stretched ceiling relies on the precise fixation of the stretched ceiling profile - the track will be installed along the four walls of the room as the main load-bearing and fixing carrier for the stretched film, ensuring a smooth and wrinkle free top surface in the later stage. If the ceiling needs to cover a large space, in order to ensure overall stability, it is necessary to install stretched ceiling profiles at intervals on the top surface to connect the fabric panels in different areas and avoid sagging and deformation of the membrane material due to excessive span.
It is worth mentioning that our stretch ceiling profiles are not of a single specification, but cover a variety of specialized aluminum profiles that can adapt to different functional requirements: including profiles for embedded linear lighting in ceilings, profile profiles for boundary atmosphere lighting, specialized profiles for adapting soundproof wall systems, and integrated profiles for hidden curtain tracks, allowing the tracks to meet installation and fixing needs, as well as perfectly connect supporting functions such as lighting, sound insulation, window decoration, etc., balancing practicality and design sense.
6. Install lighting fixtures and other supporting systems above the stretched ceiling
Before installing the stretch film, it is necessary to first build an installation platform for lighting fixtures, smoke alarms, and other equipment on the original ceiling. During installation, the platform height should be accurately adjusted to ensure smooth passage of lighting fixtures and other equipment through the stretch film and precise installation, avoiding damage to the integrity of the top surface during disassembly and adjustment. At the same time, in order to achieve perfect compatibility between the lighting fixtures and the stretched ceiling aluminum profiles, and create a more coordinated light and shadow effect, you can refer to our "Guide to Matching Six Types of Stretch Ceiling Aluminum profiles with Lighting Fixtures" for professional matching advice.
7. Heating room (key steps for installing stretch film)
In the installation process of stretching ceilings, heating the room is a crucial step - because the stretch film fabric has limited elasticity at room temperature, only through appropriate heating can its flexibility and extensibility be significantly increased, ensuring that it can perfectly fit the track, without wrinkles or bubbles, and guaranteeing the flatness of the ceiling during subsequent stretching. We usually use portable gas heaters to evenly heat the room, accurately control the temperature (usually kept at 40-50 ℃), and achieve the best stretching state of the fabric, avoiding problems such as tearing and wrinkling during installation due to insufficient elasticity. This lays the foundation for subsequent membrane stretching and fixing, ensuring a smooth and seamless top effect that is consistent with the overall decoration style.
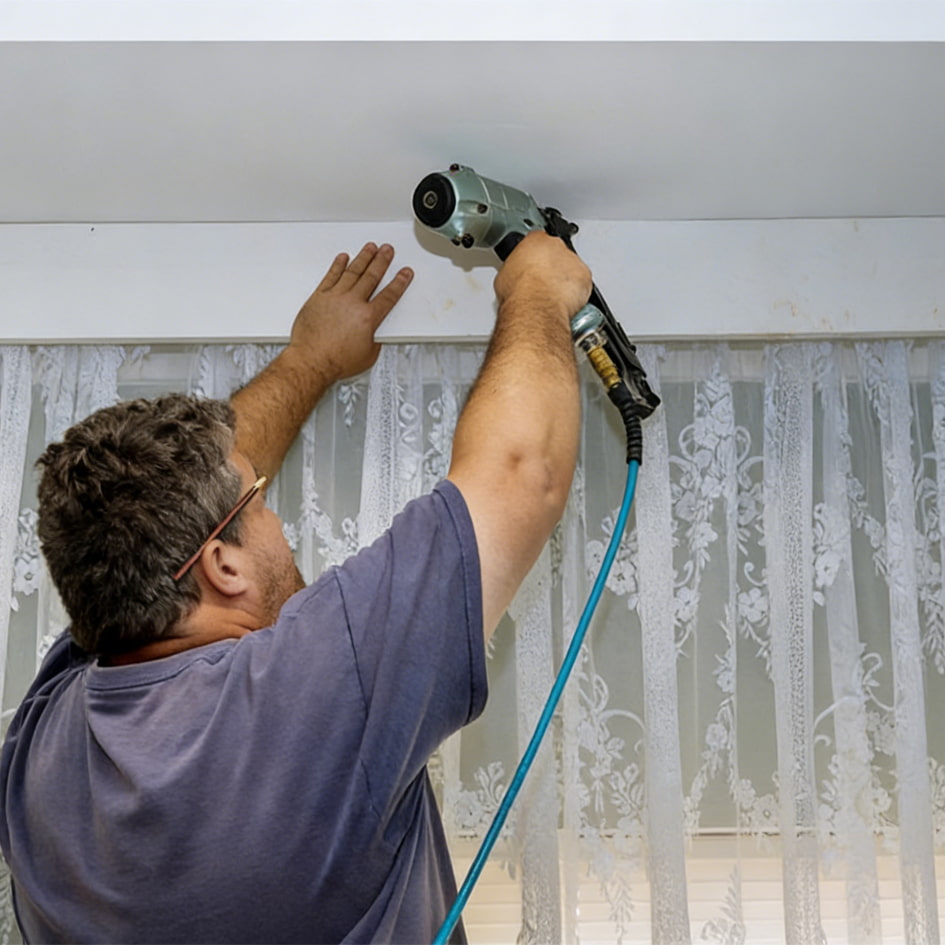
8. Install stretch ceiling membrane material
When the indoor temperature is heated to about 40 degrees Celsius, the stretched ceiling film material will reach its optimal elastic state. At this time, the construction personnel can evenly stretch and accurately clamp the film material along the pre installed aluminum track for fixation. The entire process requires a smooth technique and even force distribution to ensure a smooth and seamless ceiling surface.
After the room temperature gradually drops to room temperature, the film material will naturally shrink and further tighten, returning to a stable shape, making the entire top surface more flat, firm, and durable without deformation, ultimately presenting a clean and high-quality top surface effect.
9. Install lighting fixtures and various supporting accessories
After the film material is installed and fixed, and restored to room temperature, the installation of lamps and other supporting equipment can be carried out. Firstly, the construction personnel will precisely paste the dedicated reinforcement ring at the predetermined installation position of the membrane material to provide reinforcement and prevent damage and deformation of the membrane material after subsequent drilling. Subsequently, a precise hole will be cut at the center of the reinforcement ring, which will serve as the installation entrance for lighting fixtures, smoke alarms, and other equipment.
Next, connect the lighting fixtures to the pre arranged cables properly, then thread the fixtures through the openings and firmly connect them to the preset lighting installation platform springs above the ceiling to ensure stable and accurate installation of the fixtures, without damaging the overall flatness of the top surface and ensuring normal use of the equipment. The entire process operates in a standardized and meticulous manner, balancing practicality and aesthetics, allowing various accessories to seamlessly integrate with the stretched ceiling.
10. Complete final cleaning and acceptance
After the installation is completed, the construction personnel will use a clean soft cloth to gently wipe off any residual fingerprints, dust, or slight marks on the membrane surface, restoring the entire ceiling to a smooth and new effect. After this final step of organization, your brand new stretch ceiling is officially installed and can be put into use immediately, presenting a beautiful, durable, and easy to maintain top effect.
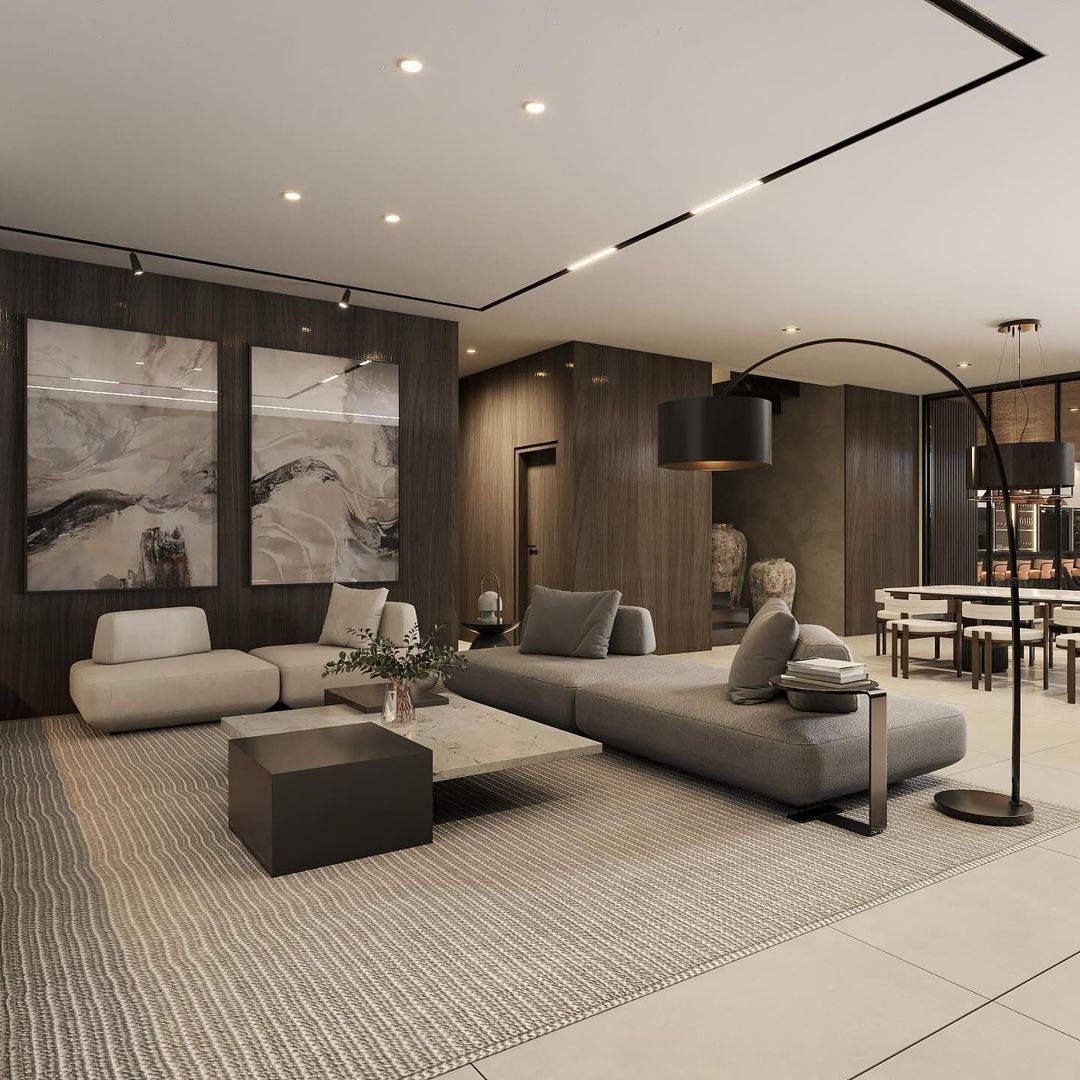
I believe that through the above ten steps, you have gained a clear and comprehensive understanding of the complete installation process for stretching ceilings. If you are considering upgrading your ceiling for residential, commercial, or office spaces, we are always available to provide you with professional measurement, design, and one-stop installation services. Please feel free to contact us for more information.
Previous
A Full Guide of Curved Magnetic Track Lighting System
Read More
Next
Which Is More Suitable For Your Space, Stretch Ceiling Or Gypsum Ceiling?
Read More


